![]()
RhinoMCP connects Rhino to AI agents through the Model Context Protocol (MCP), allowing AI agents to directly interact with and control Rhino. This integration enables prompt assisted 3D modeling in Rhino 3D.
- Two-way communication: Connect AI agents to Rhino through a socket-based server
- Object manipulation: Create, modify, and delete 3D objects in Rhino
- Document inspection: Get detailed information about the current Rhino document
- Script execution: Execute Rhinos python scripts in Rhino (experimental, may not work every time)
- Get Script Documentation: Get the documentation of a specific RhinoScript python function
- Object selection: Select objects based on filters, e.g. name, color, category, etc. with "and" or "or" logic
- Set/Create/Delete Layers: Get or set the current layer, create new layers, or delete layers
Note
So far the tool only supports creating primitive objects for proof of concept. More geometries will be added in the future. Supported objects: Point, Line, Polyline, Circle, Arc, Ellipse, Curve, Box, Sphere, Cone, Cylinder, Surface (from points)
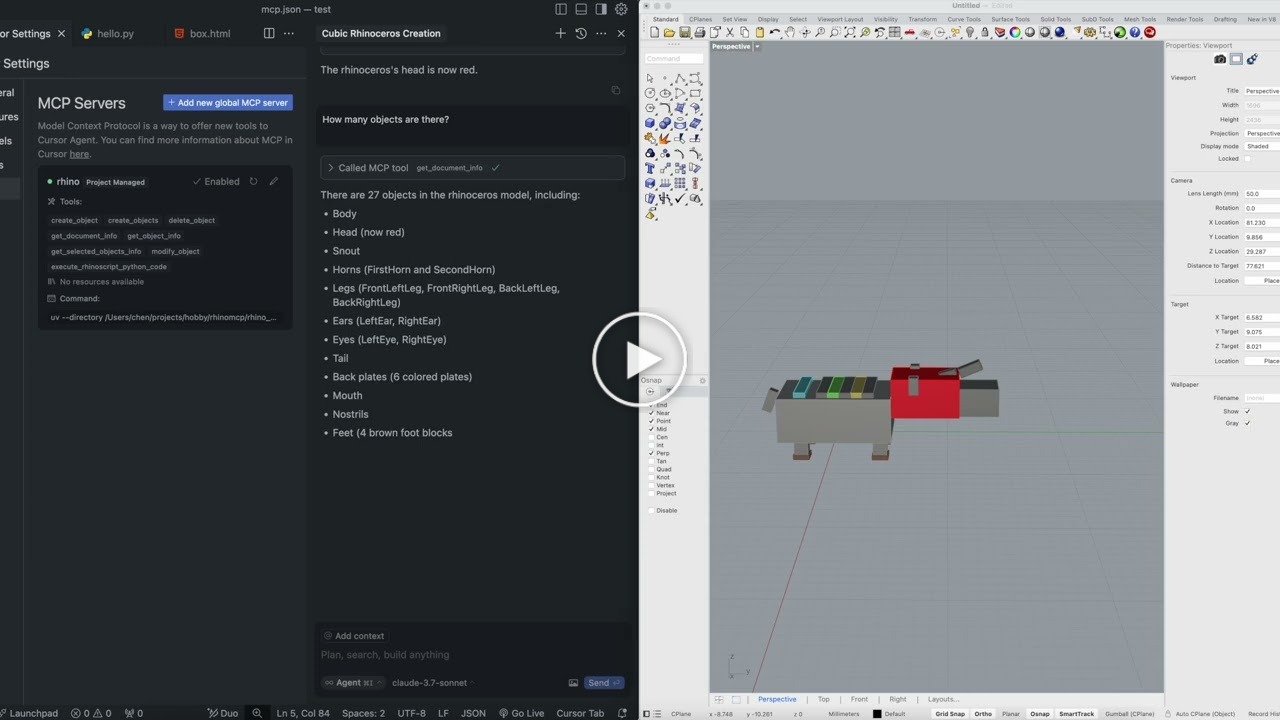
This demo shows how AI can interact with Rhino in two directions. Click the image below to watch the video.
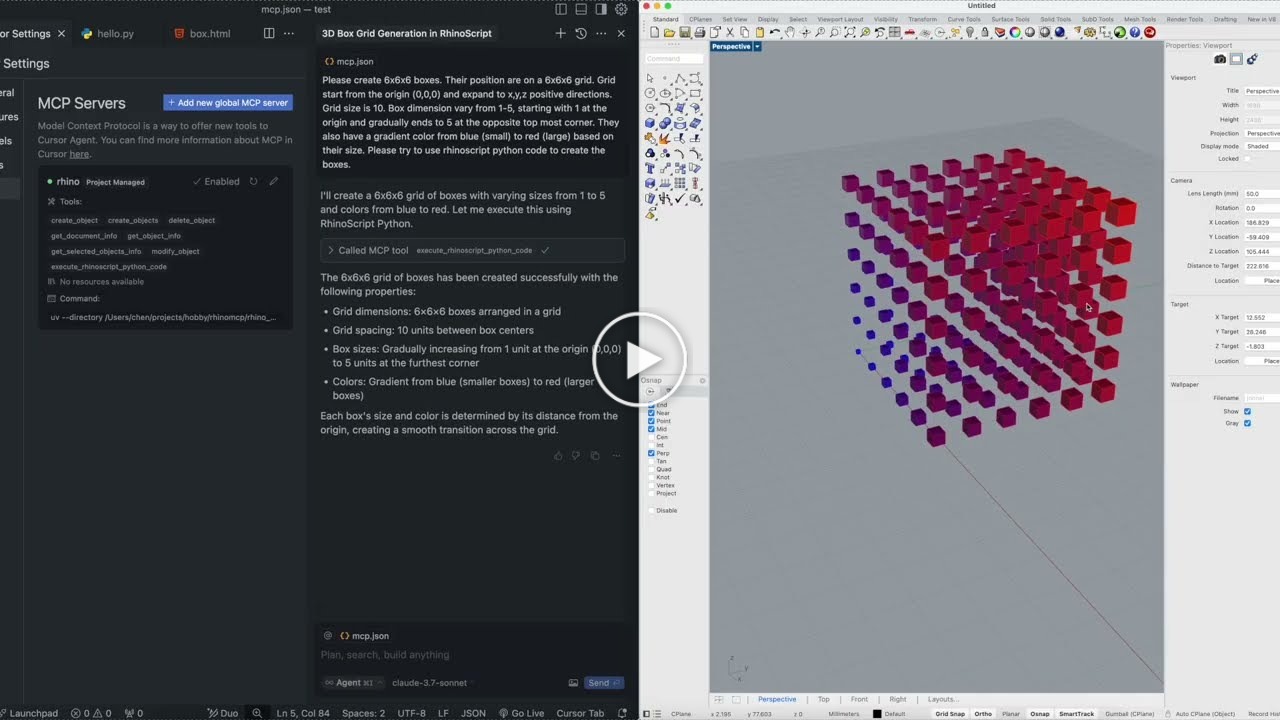
This demo shows how to ask AI to create custom scripts and execute them in Rhino. Click the image below to watch the video.
Thanks to Nate. He has created a showcase and installation tutorial for this tool.
The system consists of two main components:
- MCP Server (
src/rhino_mcp_server/server.py): A Python server that implements the Model Context Protocol and connects to the Rhino plugin - Rhino Plugin (
src/rhino_mcp_plugin): A Rhino plugin that creates a socket server within Rhino to receive and execute commands
- Rhino 7 or newer (Works onWindows and Mac); make sure you Rhino is up to date.
- Python 3.10 or newer
- uv package manager
⚠️ Only run one instance of the MCP server (either on Cursor or Claude Desktop), not both
- Go to Tools > Package Manager
- Search for
rhinomcp - Click
Install
If you're on Mac, please install uv as
brew install uvOn Windows
powershell -c "irm https://astral.sh/uv/install.ps1 | iex"⚠️ Do not proceed before installing UV
{
  "mcpServers": {
    "rhino": {
      "command": "uvx",
      "args": ["rhinomcp"]
    }
  }
}Go to Claude > Settings > Developer > Edit Config > claude_desktop_config.json to include the above config file.
Make sure your cursor is up to date.
Create a folder .cursor in your project root.
Create a file mcp.json in the .cursor folder and include the above config file:
Go to Cursor Settings > MCP and check if it's enabled.
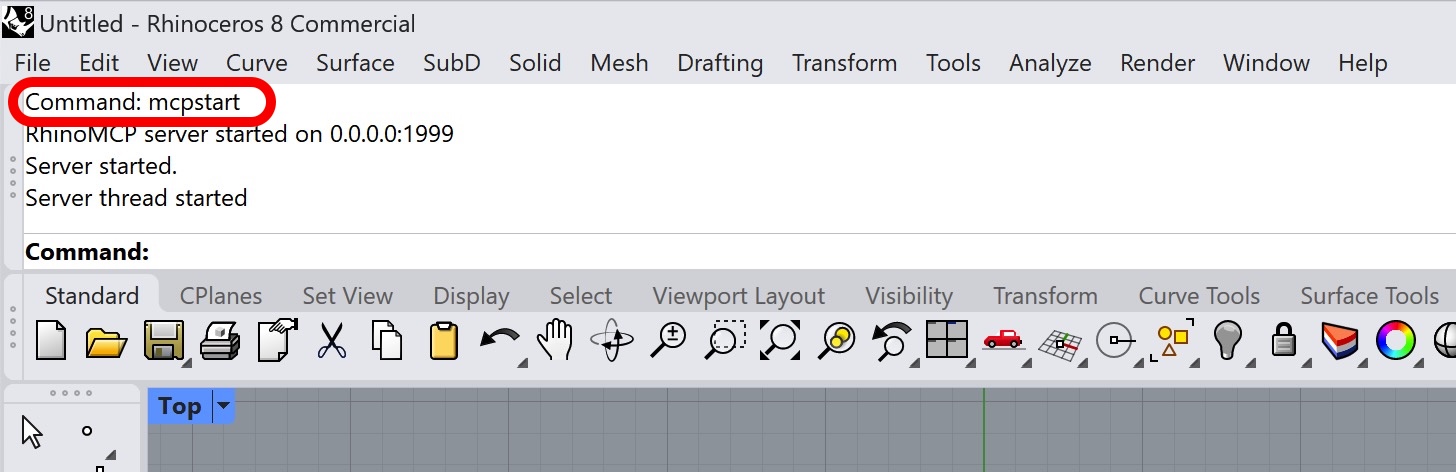
- In Rhino, type
mcpstartin the command line - Make sure the MCP server is running in the rhino terminal
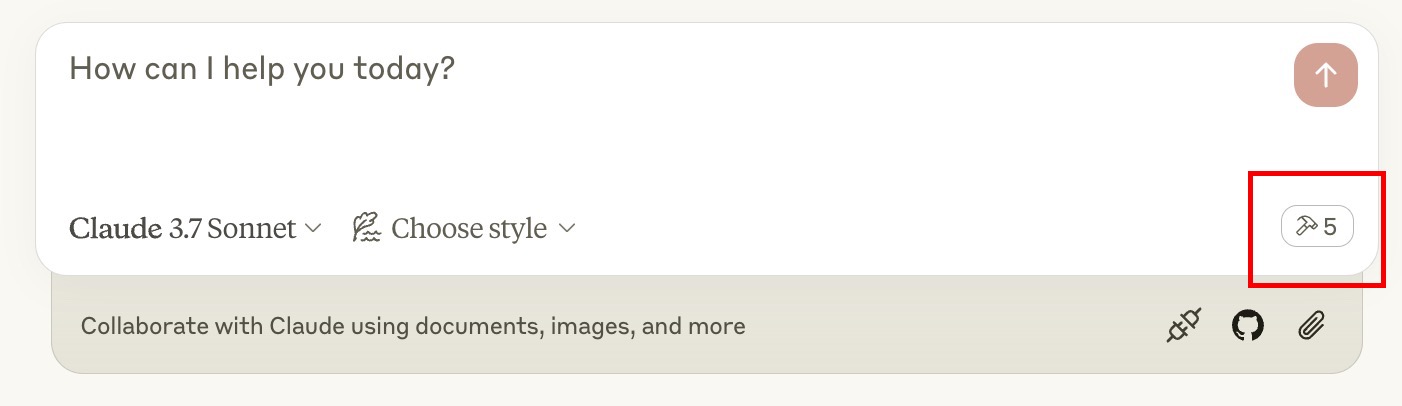
Once the config file has been set on Claude, and the plugin is running on Rhino, you will see a hammer icon with tools for the RhinoMCP.
Once the config file has been set on Cursor, and the plugin is running on Rhino, you will see the green indicator in front of the MCP server.

If not, try refresh the server in Cursor. If any console pops up, please do not close it.
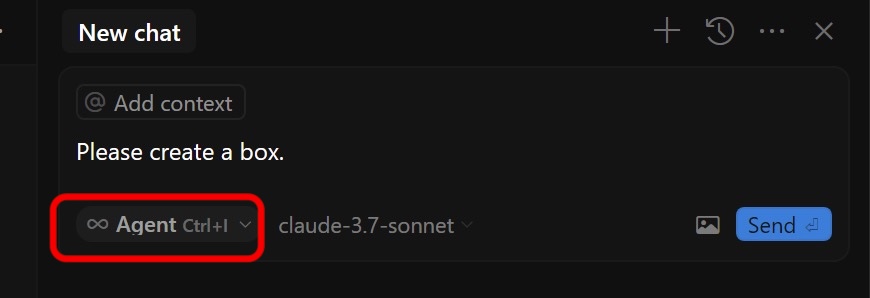
Once it's ready, use Ctrl+I to open the chat box and start chatting with Rhino. Make sure you've selected Agent mode.
The system uses a simple JSON-based protocol over TCP sockets:
- Commands are sent as JSON objects with a
typeand optionalparams - Responses are JSON objects with a
statusandresultormessage
- The
get_document_infoonly fetches max 30 objects, layers, material etc. to avoid huge dataset that overwhelms Claude. - Complex operations might need to be broken down into smaller steps
cd rhino_mcp_server
uv build
uv publish- build the tool in Release mode
- copy the "manifest.yml" file to the "bin/Release" folder
- run
yak buildin the Release folder - run
yak push rhino_mcp_plugin_xxxx.yakto publish the plugin
Contributions are welcome! Please feel free to submit a Pull Request.
This is a third-party integration and not made by Mcneel. Made by Jingcheng Chen